

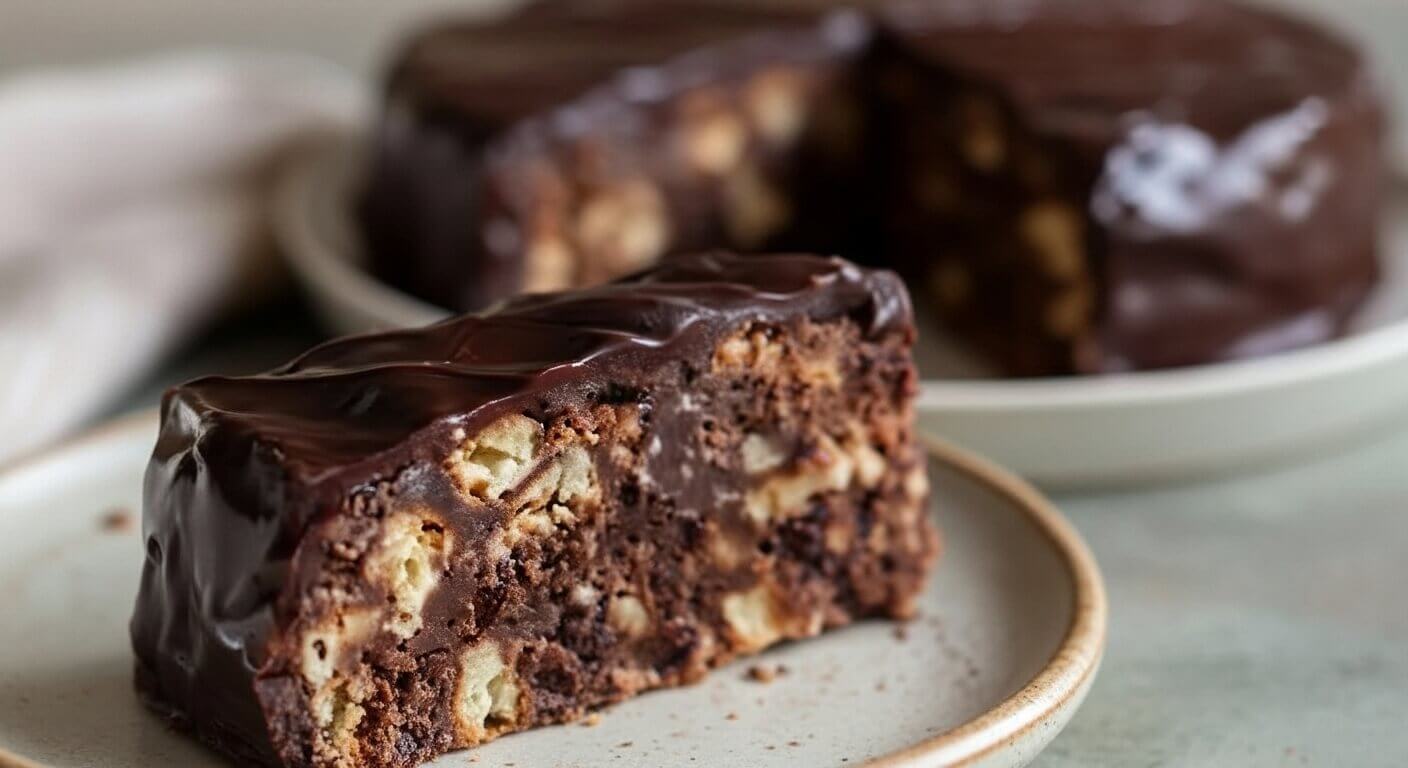
Looking for a simple no-bake dessert? Mary Berry Chocolate Biscuit Cake Recipe is perfect for you. This chocolate biscuit cake needs no oven.
You just mix, chill, and enjoy. It’s rich, chocolatey, and absolutely delicious. Kids and adults both love this treat. The best part? You can make it in minutes.
This Mary Berry Chocolate Biscuit Cake Recipe uses simple ingredients. You probably have them in your kitchen already.
Whether it’s a party or afternoon tea, this cake works perfectly. Let me show you how to make this amazing chocolate biscuit cake today.
When I First Discovered Mary Berry Chocolate Biscuit Cake
I found this recipe five years ago. My friend served it at her birthday party. I took one bite and fell in love. The chocolate was so smooth and creamy. The biscuits added a perfect crunch.
I asked her for the recipe immediately. She told me it was Mary Berry’s famous version. I tried making it the very next day. It turned out amazing on my first attempt.
Now it’s my go-to dessert for every gathering. Everyone always asks me for the recipe. This cake never fails to impress guests.
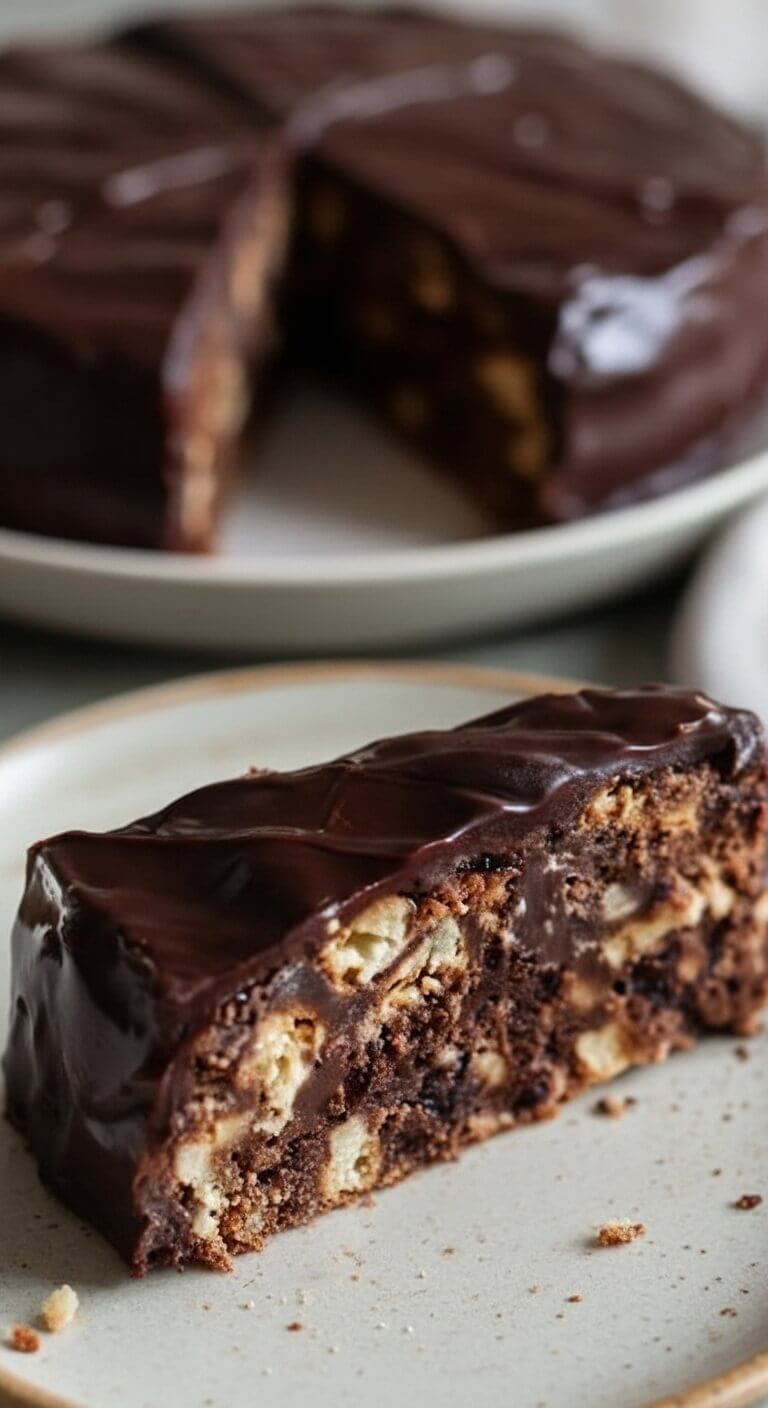
Equipment List
- Large mixing bowl
- Medium saucepan
- Wooden spoon
- 8-inch square tin
- Parchment paper
- Sharp knife
- Measuring cups and spoons
Ingredients You Need for Mary Berry Chocolate Biscuit Cake
- 400g rich tea biscuits
- 200g dark chocolate
- 100g milk chocolate
- 125g butter
- 3 tablespoons golden syrup
- 50g dried cherries (optional)
- 50g chopped nuts (optional)
Step-by-Step Guide
- Line your tin with parchment paper.
- Make sure it covers all sides.
- This helps remove the cake easily later.
- Set the tin aside for now.
- Break biscuits into small chunks.
- Don’t make them too small.
- You want some nice chunky pieces.
- Place them in your mixing bowl.
- Add cherries and nuts if using them.
- Put butter in your saucepan.
- Add both types of chocolate.
- Pour in the golden syrup too.
- Heat on low temperature.
- Stir constantly until everything melts smoothly.
- Don’t let it burn.
- Pour the melted chocolate over the biscuits.
- Mix everything together gently.
- Make sure all biscuits get coated.
- Use your wooden spoon to combine well.
- Transfer the mixture to your prepared tin.
- Press it down firmly and evenly.
- Use the back of your spoon.
- Make the top as smooth as possible.
- Put the tin in your fridge.
- Let it chill for at least 3 hours.
- Overnight works even better.
- The cake needs time to set properly.
- Remove from fridge when set completely.
- Lift out using the parchment paper.
- Cut into squares with a sharp knife.
- Serve and enjoy your creation.
Tips to Make the Best Mary Berry Chocolate Biscuit Cake
- Use good quality chocolate for better taste.
- Don’t rush the chilling process.
- The cake needs proper time to set.
- Break biscuits into different sized pieces.
- This creates a better texture overall.
- Warm your knife before cutting slices.
- This gives you cleaner, neater cuts.
- Store leftovers in an airtight container.
- Keep it in the fridge always.
- The cake stays fresh for one week.
- You can also freeze it for longer.
- Let it thaw before serving to guests.
FAQs about Mary Berry Chocolate Biscuit Cake
Q: Can I use different biscuits for this recipe?
A: Yes, digestive biscuits work great too. Any plain tea biscuit works perfectly fine.
Q: How long does this chocolate biscuit cake last?
A: It lasts one week in the fridge. Store it in an airtight container always.
Q: Can I make this cake without golden syrup?
A: Yes, use honey or corn syrup instead. The taste will be slightly different though.
Q: Is this suitable for kids’ parties?
A: Absolutely yes, kids absolutely love this cake. It’s sweet, chocolatey, and easy to eat.
Q: Can I add other ingredients to this recipe?
A: Yes, try adding marshmallows or raisins. Get creative with your favorite additions.
Final Thoughts
This Mary Berry Chocolate Biscuit Cake Recipe is truly foolproof. You don’t need baking skills at all. Anyone can make this delicious treat successfully.
It’s perfect for last-minute dessert emergencies. Your family will request it again and again. The combination of chocolate and biscuits is magical.
Try making it this weekend with your family. You won’t regret adding this recipe to your collection.
More Amazing Recipes
- Kinders Teriyaki Sauce Recipe
- Aurelio’s Pizza Sauce Recipe
- Lou Malnati’s Pizza Sauce Recipe
- Lotus Crack Sauce Recipe
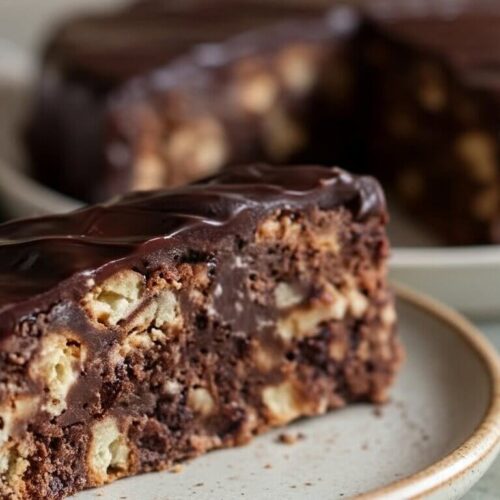
Mary Berry Chocolate Biscuit Cake Recipe
Equipment
- Large Mixing Bowl
- Medium saucepan
- 8-inch square tin
- Wooden Spoon
- Parchment paper
- Sharp knife
- Measuring cups and spoons
Ingredients
- 400 g rich tea biscuits
- 200 g dark chocolate
- 100 g milk chocolate
- 125 g butter
- 3 tablespoons golden syrup
- 50 g dried cherries optional
- 50 g chopped nuts optional
Instructions
- Line your tin with parchment paper.
- Make sure it covers all sides.
- This helps remove the cake easily later.
- Set the tin aside for now.
- Break biscuits into small chunks.
- Don’t make them too small.
- You want some nice chunky pieces.
- Place them in your mixing bowl.
- Add cherries and nuts if using them.
- Put butter in your saucepan.
- Add both types of chocolate.
- Pour in the golden syrup too.
- Heat on low temperature.
- Stir constantly until everything melts smoothly.
- Don’t let it burn.
- Pour the melted chocolate over the biscuits.
- Mix everything together gently.
- Make sure all biscuits get coated.
- Use your wooden spoon to combine well.
- Transfer the mixture to your prepared tin.
- Press it down firmly and evenly.
- Use the back of your spoon.
- Make the top as smooth as possible.
- Put the tin in your fridge.
- Let it chill for at least 3 hours.
- Overnight works even better.
- The cake needs time to set properly.
- Remove from fridge when set completely.
- Lift out using the parchment paper.
- Cut into squares with a sharp knife.
- Serve and enjoy your creation.
Notes
- Use good quality chocolate for better taste.
- Don’t rush the chilling process.
- The cake needs proper time to set.
- Break biscuits into different sized pieces.
- This creates a better texture overall.
- Warm your knife before cutting slices.
- This gives you cleaner, neater cuts.
- Store leftovers in an airtight container.
- Keep it in the fridge always.
- The cake stays fresh for one week.
- You can also freeze it for longer.
- Let it thaw before serving to guests.